If the rear brakes of your 1990-1997 NA Miata MX-5 need to be replaced or upgraded, you will want to follow these steps. This is the most foolproof way to change your Miata rear brakes and pads.
Tools You Will Need
- 2 jack stands
- Jack
- 21mm deep socket with breaker bar or impact wrench for the lug nuts
- 14mm socket wrench
- 10mm socket wrench
- 10mm open / closed end wrench (fixed or ratchet)
- 4mm Allen key
- Torque wrench
- Rust penetrant spray
- High temperature brake grease (e.g. EBC)
- Brake cleaner
- Shop towels
- Rubber or mechanics gloves
Parts You Will Need
- 2 rear brake pad sets for a 1990-1997 NA Miata MX-5
- 2 rear brake disks for a 1990-1997 NA Miata MX-5
Things to Watch Out For
Before you get started chock the front wheels so the car doesn’t roll.
Put the car in neutral and let off the parking brake so you can turn the rear brake disks.
Don’t lose the 4 mm Allen screw and gear that adjusts the parking brake!
Don’t lose or crush the copper washer for the 14mm bolt that covers the 4mm Allen screw parking brake adjuster. The washer holds brake fluid in.
You MUST use high temperature brake grease for the backs of the brake pads and the slider pins. Normal lithium or copper grease will not work and will result in brake issues.
Make sure you don’t get any grease on the brake disk or pads. If you do make sure you clean it off quickly with brake cleaner. Grease will destroy your new brake pads. Clean your hands often with hand cleaner so you don’t get grease or oil on the braking surfaces.
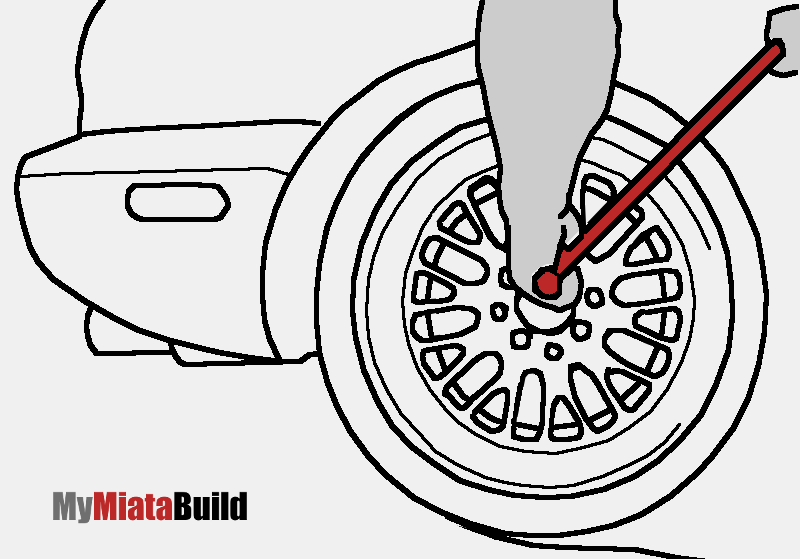
Step 1 – Loosen the rear lug nuts
It’s easier to loosen the lug nuts with the car on the ground. Use a 21mm deep socket with a breaker bar or impact wrench. Don’t loosen them up too much. Just break the tension and give it a half turn or so.
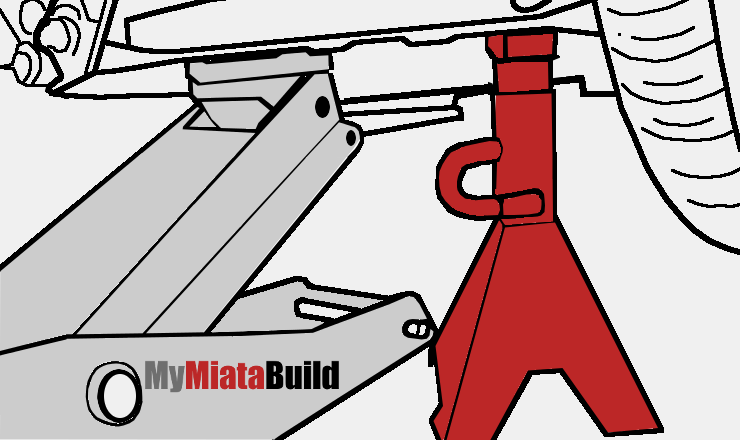
Step 2 – Jack up the rear of the car and put it on jack stands
Put the jack beneath the rear A-arm inner pivot point. Put the jack stands under the outer ends of the suspension arms. Do not put the jack stands in front of the rear wheels because this can damage the body.
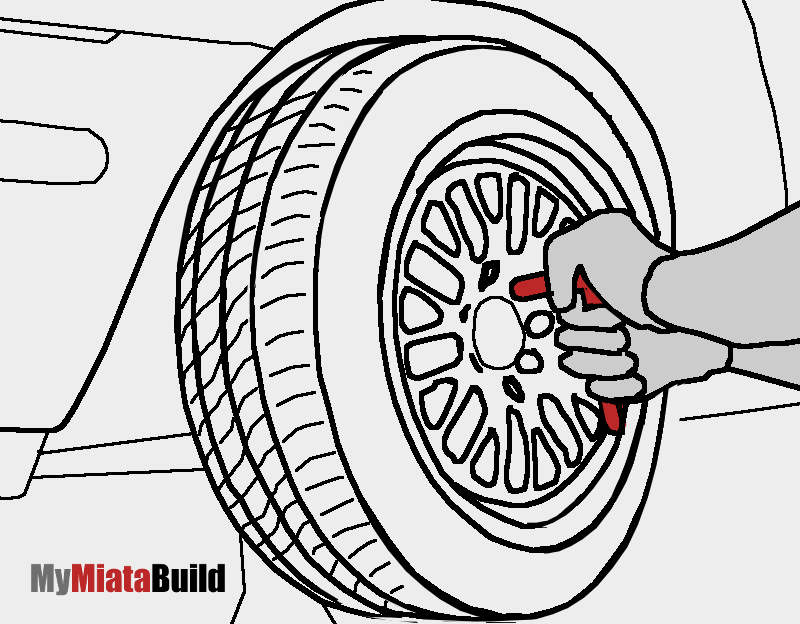
Step 3 – Remove the lug nuts and wheel
The lug nuts should come off easily since you loosened them on the ground.
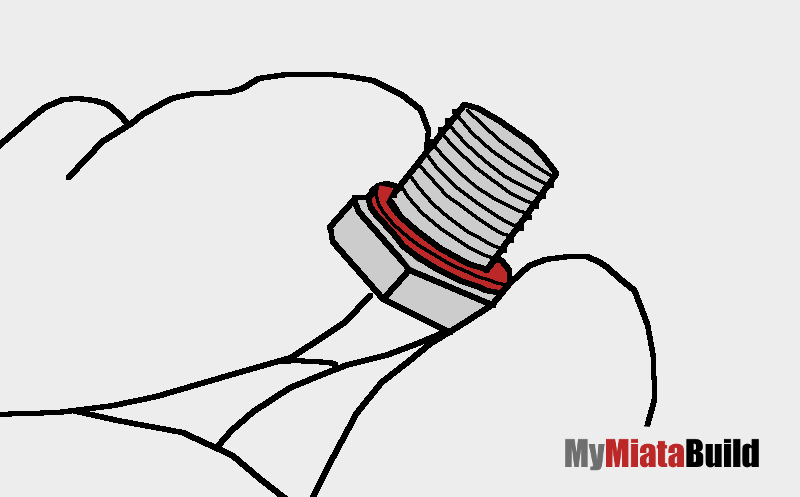
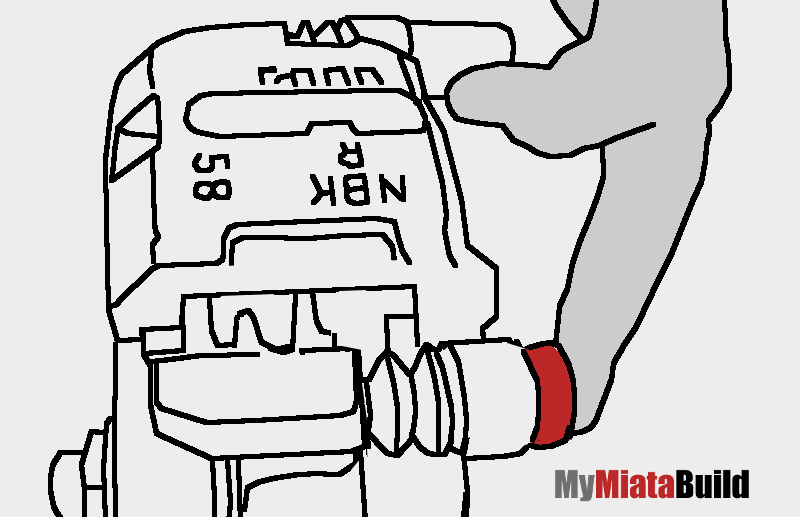
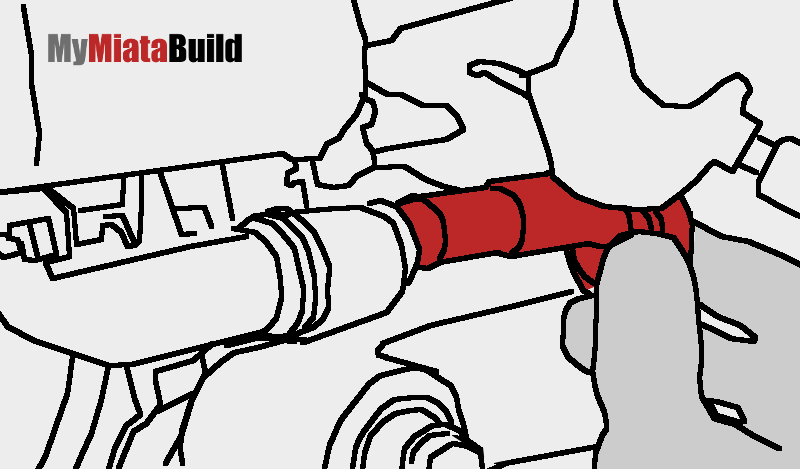
Step 4 – Remove the 14mm parking brake cover bolt
The 14mm bolt on the right in this image. This bolt covers the 4mm Allen screw used to adjust the parking brake.
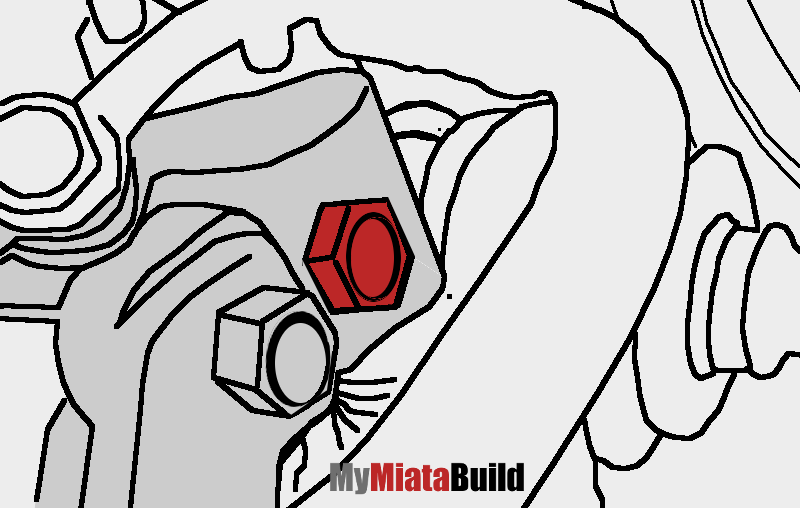
Make sure you don’t lose the copper crush washer, as this holds in brake fluid!
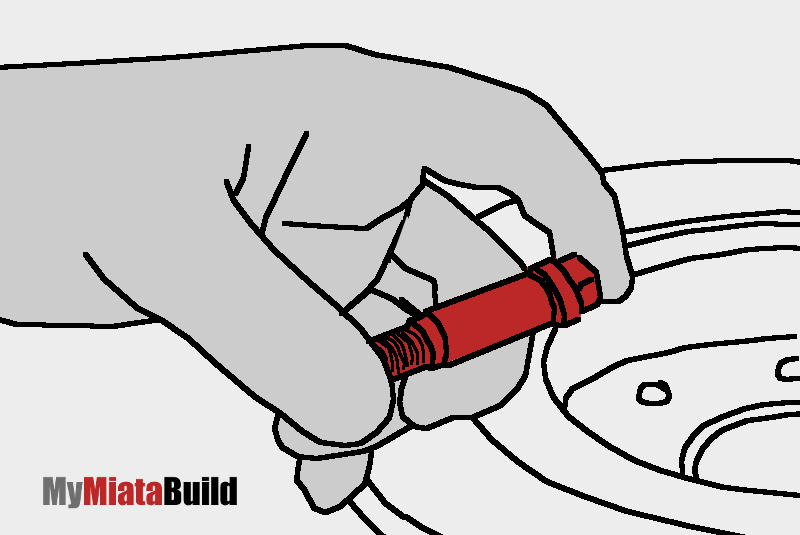
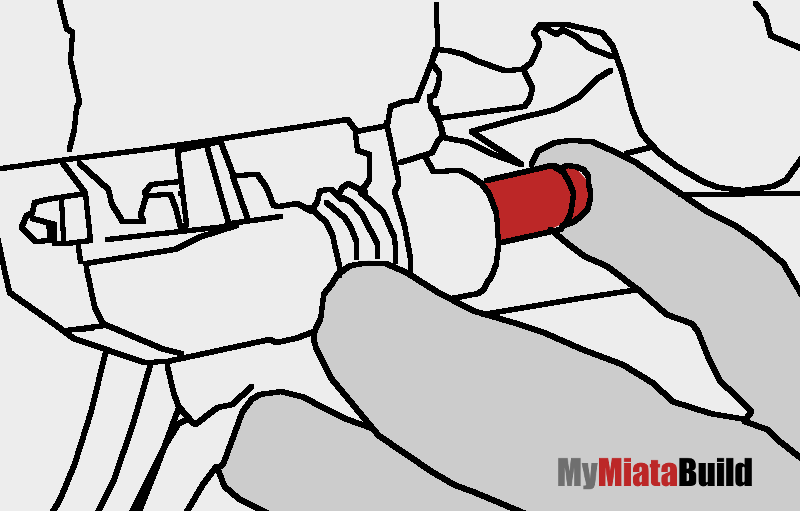
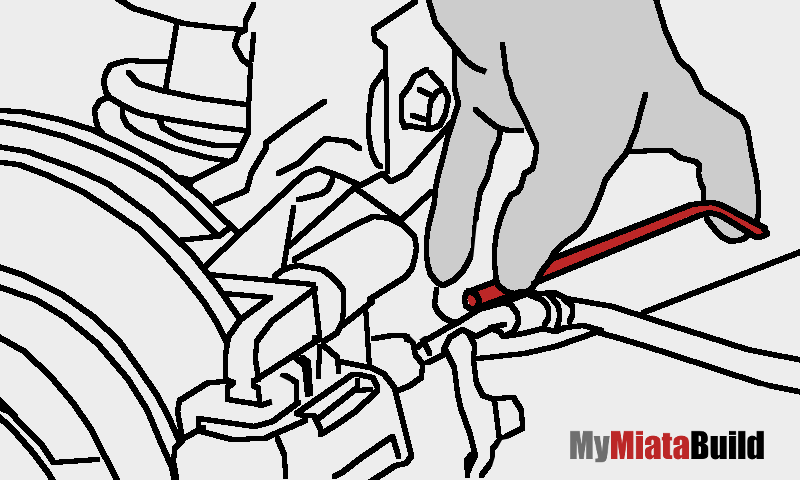
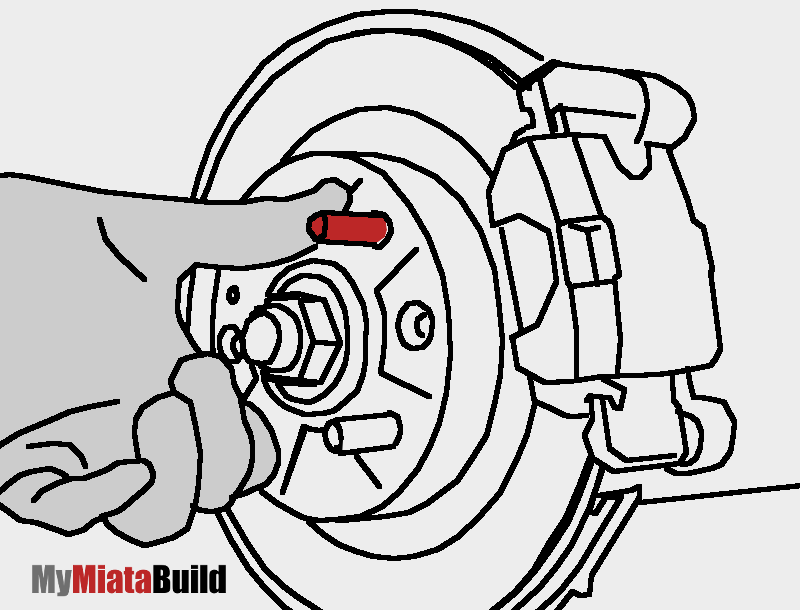
Step 5 – Back out the Allen screw parking brake adjuster
The Allen screw is inside the 14mm cover bolt hole as shown below.
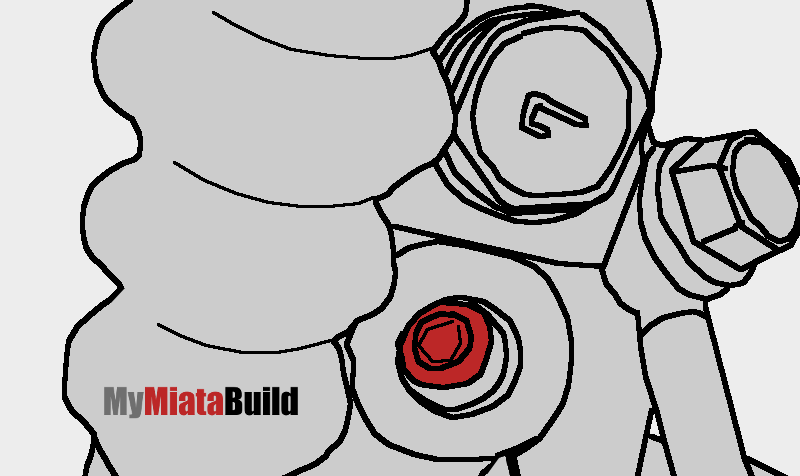
Reach around with your 4mm Allen key and back out the screw until it stops turning. Then lift out the Allen screw and adjuster.
Inspect the parking brake adjuster gear for any damage. Do not lose this piece!
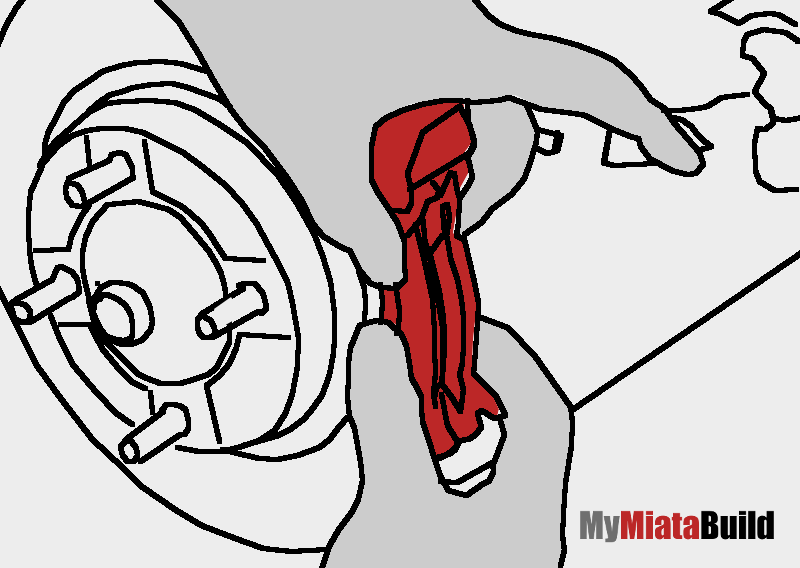
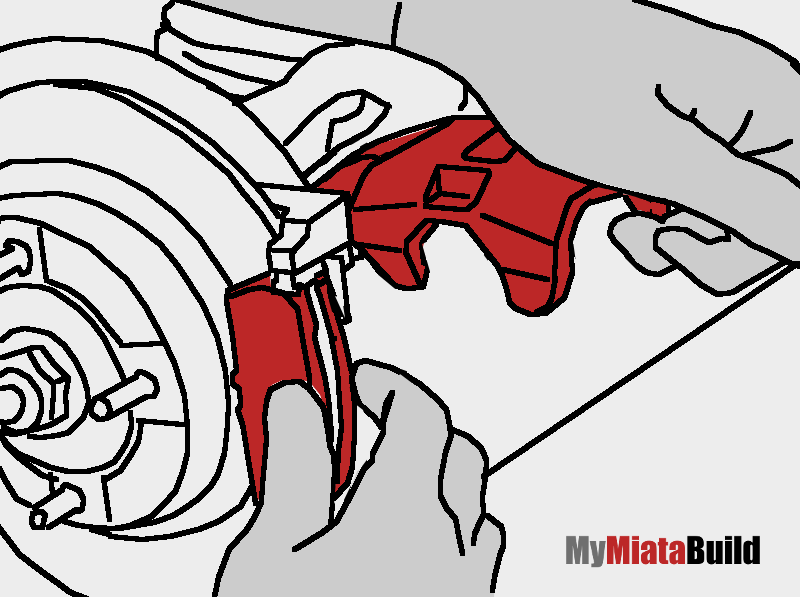
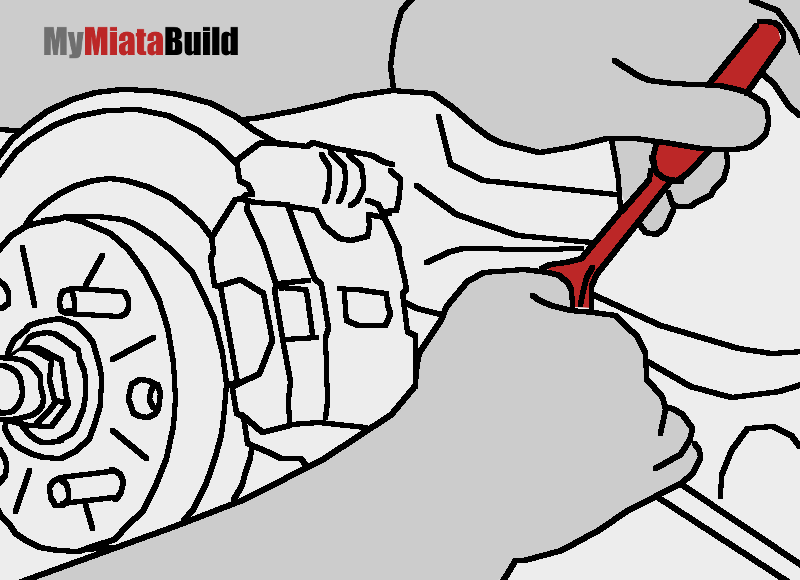
Step 6 – Remove the brake caliper
Remove the lower 10mm slider / bolt that locates the bottom of the caliper. There may be a rubber cap covering the bolt head. If so, remove it with your fingers and save it. Then slide the bolt out.
Pivot the caliper up and slide it inward to remove it. Tuck the caliper up into the wheel well to get it out of the way and avoid kinking the brake lines.

Step 7 – Remove the brake pads
The brake pads should slide right out. If a brake pad is stuck to the disk, knock it loose with a mallet.
NOTE: If you’re replacing the brake pads with the same make and model, you can reuse the hardware if it’s in good shape. If you’re installing different pads use the hardware that came with the new pads.
Step 8 – Remove the brake disk
The disk should slide right off. If not, you can thread an 8mm bolt into the extra hole in the disk hat and the disk will come off.
Take a few moments to inspect the wheel bearing while you have the disk off — if it looks worn now is the time to replace it.
Step 9 – Clean your new brake disks with brake cleaner
It’s essential to get the braking surfaces perfectly clean. Otherwise your new brakes won’t bed in properly. Use brake cleaner and a clean rag or shop towel for this.
Step 10 – Clean and grease the upper and lower slider pins
A bit of fine sandpaper or wire brush and brake cleaner will get the grime off quickly. Make sure the threads are nice and clean. ONLY use high temp brake grease.
Step 11 – Slide on the new brake disk
Before you slide on the new brake disk clean the surface of the hub with a wire brush or fine sandpaper and brake cleaner. This ensures the disk and hub seat perfectly.
Step 12 – Grease the back of the brake pads
It’s important to grease the back of the brake pads where the pistons contact them. Spread the grease thoroughly in a thin layer with your fingers. Be VERY careful not to get grease on the friction side of the pads or the brake disk! After you grease the pads clean your hands thoroughly — any tiny bit of grease could ruin your brand new brakes.
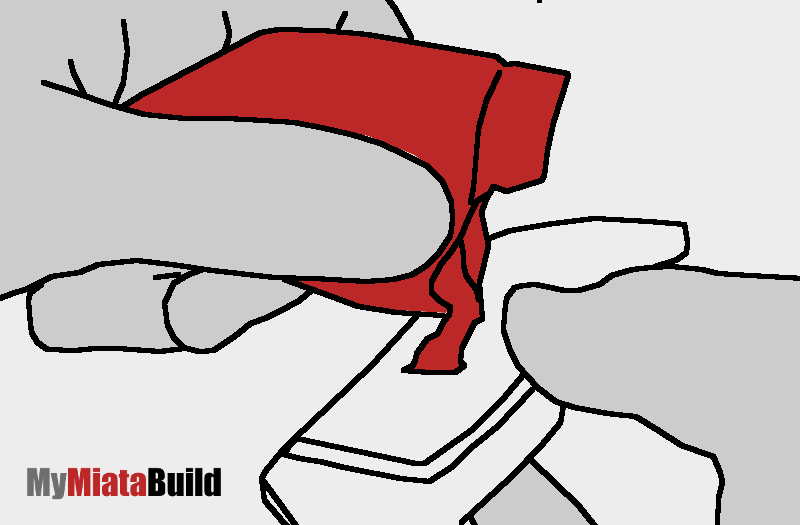
Step 13 – Install the inner and outer brake pads and clips
The pads should click right in. Make sure they’re lined up correctly. It’s easier to install the inside pad first.

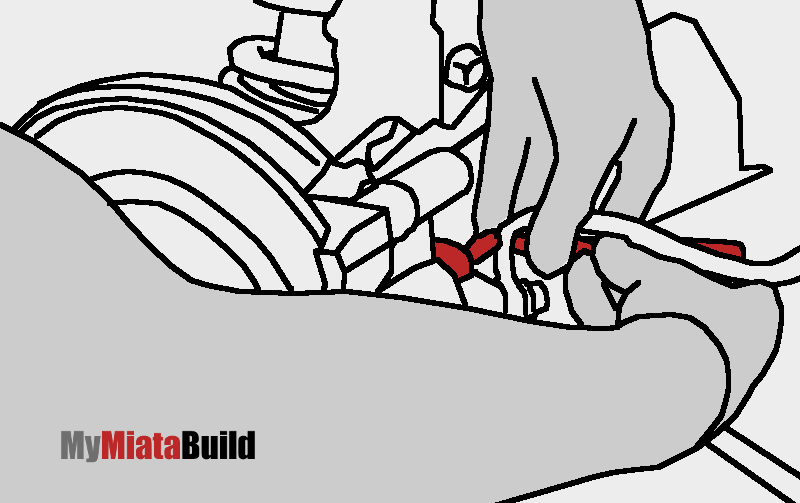
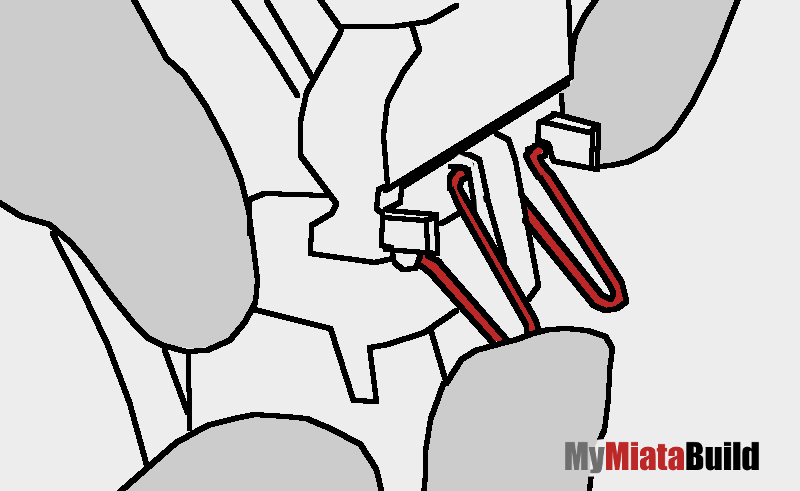
Insert the upper and lower W-shaped spring clips that spread the pads apart. These springs keep the pads from dragging on the disk. The clips go in one way only — just follow the images below.
Here’s how the top clip goes in.

Here’s how the bottom clip goes in.
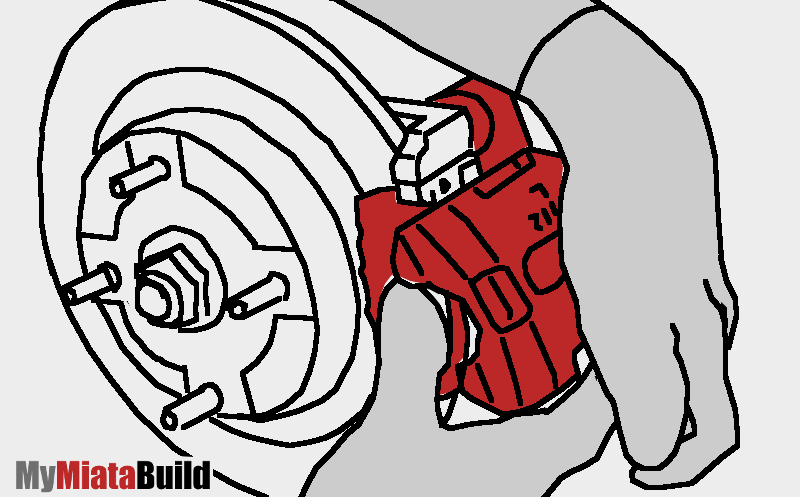
Step 14 – Reinstall the brake caliper
Slide the caliper onto the top slider pin first. While squeezing the brake pads together with one hand, rotate the caliper down over the pads with the other hand.
Then pivot the caliper down so it’s correctly centered over the brake pads.
If you didn’t clean and grease the 10mm slider pin / bolt in Step 10, then to that now. Clean the grease off your hands again.
Insert the slider pin / bolt into the lower hole in the caliper from the back.
Tighten the slider bolt to 25-29 ft / lbs of torque with your 10mm wrench or socket. Do not over-tighten this bolt as you will stretch it and damage the threads. Replace the rubber cover if there was one.
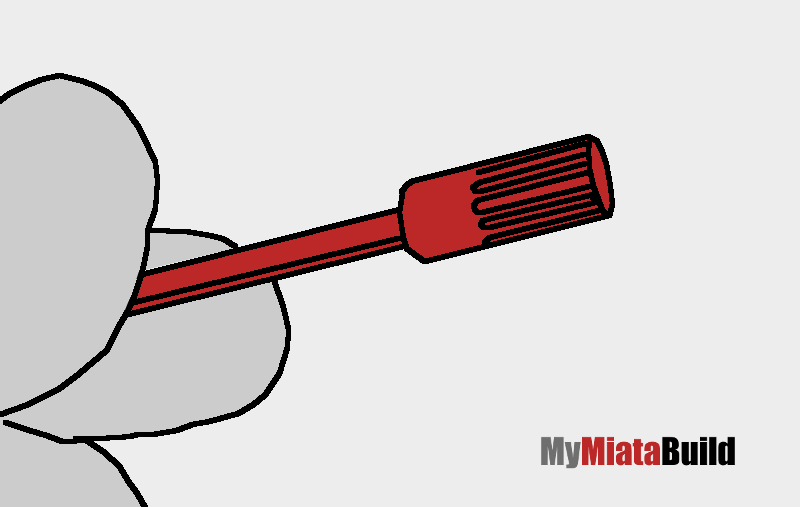
Step 15 – Insert the Allen screw parking brake adjuster
Insert your Allen key long-ways into the 4mm parking brake adjuster screw. Feed it into the hole from the back, making sure the gear seats nicely. Tighten the screw until you cannot turn the brake disk.
Then loosen the Allen adjuster screw by one-half to one full turn until you can turn the brake disk again with your fingers. A little brake drag is not a problem — this will go away after the brakes bed themselves in.
Step 16 – Reinstall the 14mm bolt that covers the parking brake adjuster
Insert the bolt by hand, then tighten it with your 14mm ratchet. Tighten it so it’s firm but not cranked down. You don’t want to crush the copper washer too much or strip the threads.
Step 17 – Reinstall the rear wheels, drop the car and torque the lug nuts
Tighten the lug nuts to between 66-86 ft / lbs using your 21 mm socket and a torque wrench.
Step 18 – Test the brakes
Drive around at 5 mph and apply the brakes several times quickly to ensure they’re working. Listen for any odd noises or dragging sounds.
Step 19 – Bed in the brakes
You will need to bed the brakes in properly to get them to work to their full capacity. If you don’t do this it will significantly limit the life and performance of your new brakes.